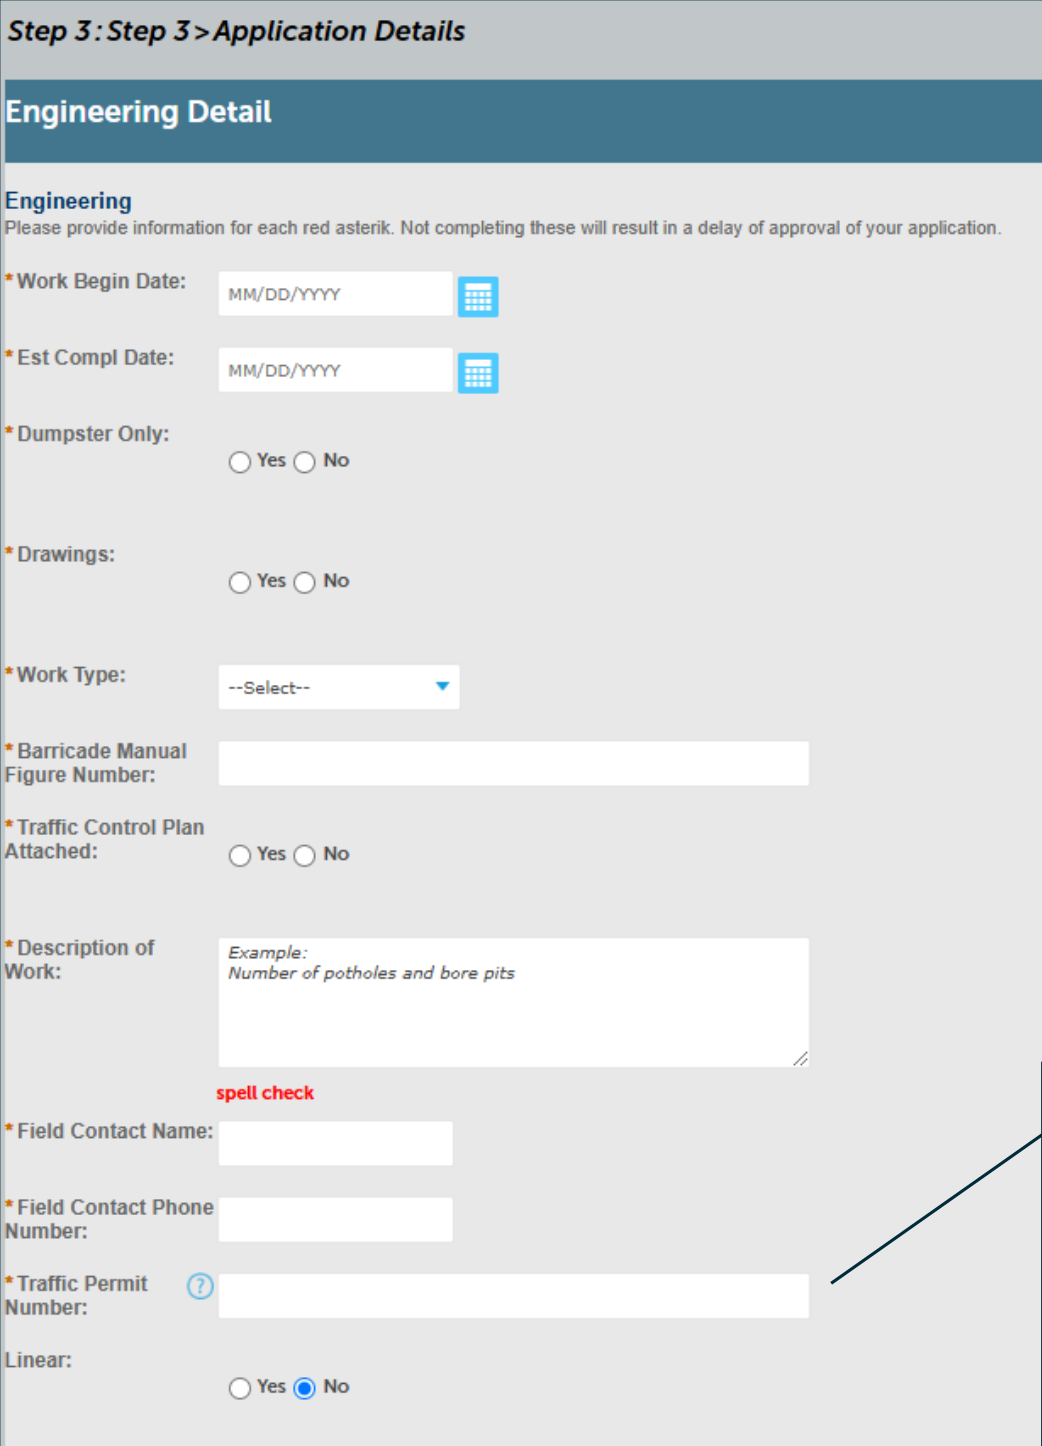
9. Enter permit information, including a description of all work in the right-of-way, and the emergency field contact.
Accessible view
Step 3: Step 3 > Application Details. Engineering Detail form for the Engineering section.
Please provide information for each red asterisk. Not completing these will result in a delay of approval of your application.
- Work Begin Date
- Blank date field with the placeholder MM/DD/YYYY and a calendar control.
- Est Compl Date
- Blank date field with the placeholder MM/DD/YYYY and a calendar control.
- Dumpster Only
- Yes or No.
- Drawings
- Yes or No.
- Work Type
- Selection field showing --Select--.
- Barricade Manual Figure Number
- Blank text field.
- Traffic Control Plan Attached
- Yes or No.
- Description of Work
- Text area showing the example: “Example: Number of potholes and bore pits”. A red “spell check” label appears below it.
- Field Contact Name
- Blank text field.
- Field Contact Phone Number
- Blank text field.
- Traffic Permit Number
- Blank text field with a question-mark help icon.
- Linear
- Yes or No, with No selected.
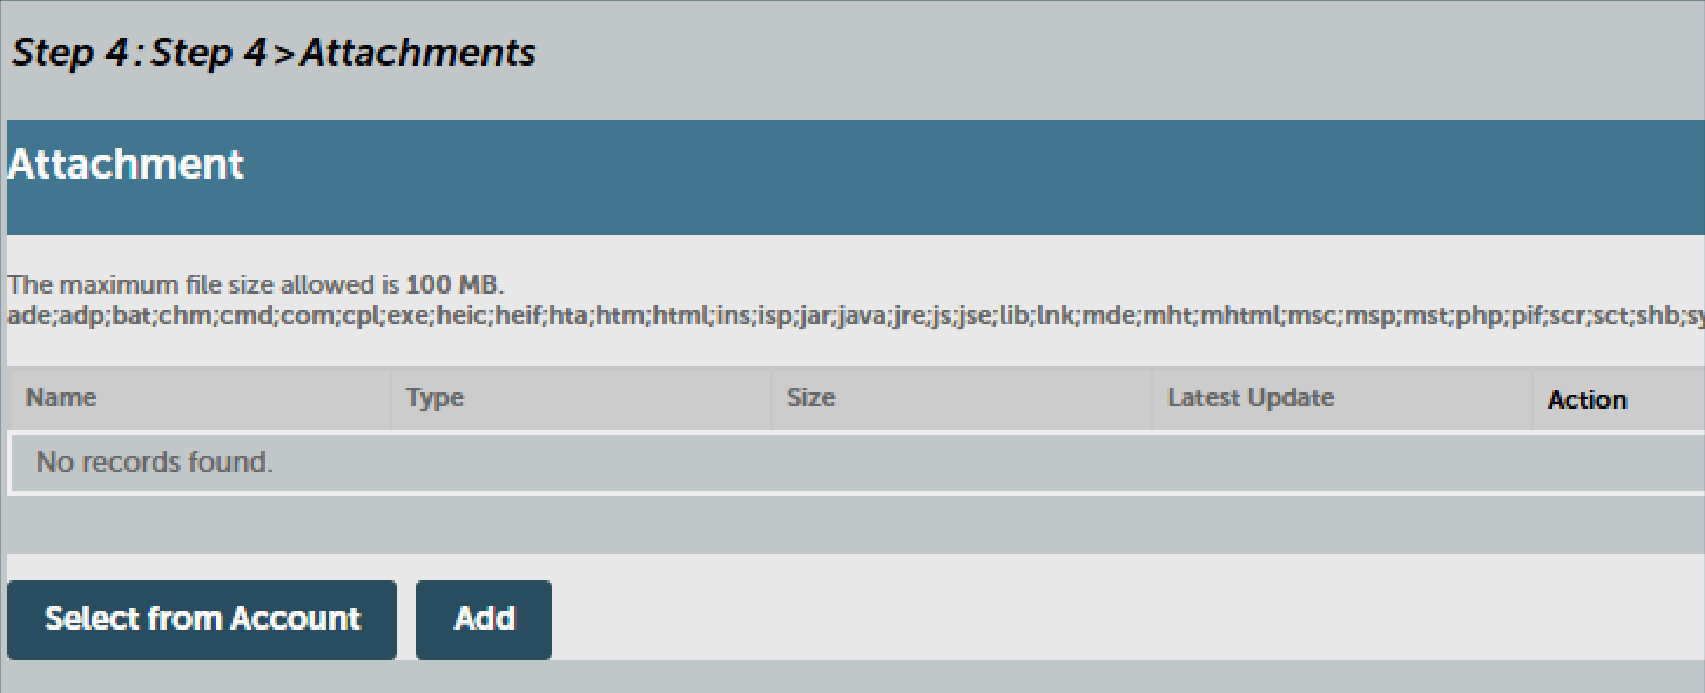
10. Add attachments, including City approved site plans, running line approval, diagrams, traffic control plan, other permits, etc.
Accessible view
Step 4: Step 4 > Attachments. The Attachment interface is shown.
The maximum file size allowed is 100 MB.
Allowed file extensions: ade, ardp, bat, chm, cmd, com, complex, ef, eml, heif, hta, htm, html, ins, ipa, jar, java, jre, jsp, js, lib, lnk, mde, mht, mhtml, mnc, msp, php, pif, scr, sct, sh, shb.
The attachment table has the columns Name, Type, Size, Latest Update, and Action. It currently says: No records found.
Available buttons: Select from Account and Add.